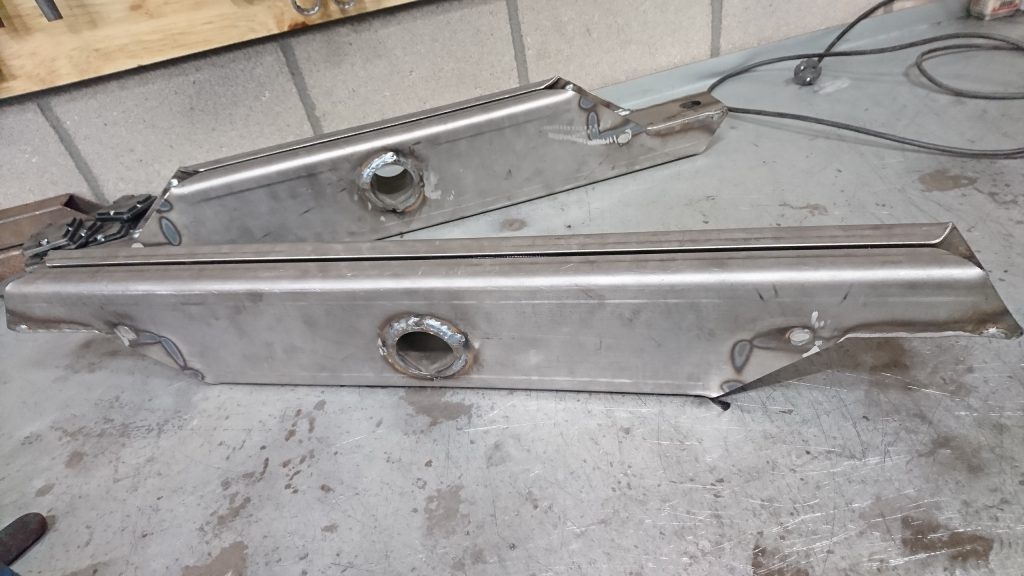
After designing and laser-cutting the parts, it’s time to put things together.
There’s a few important parts here:
- crossbars, chassis parts
- front-to-back mounting, cabine side
- lengte-richting bevestiging aan het chassis
- dwars-richting bevestiging aan de opbouw
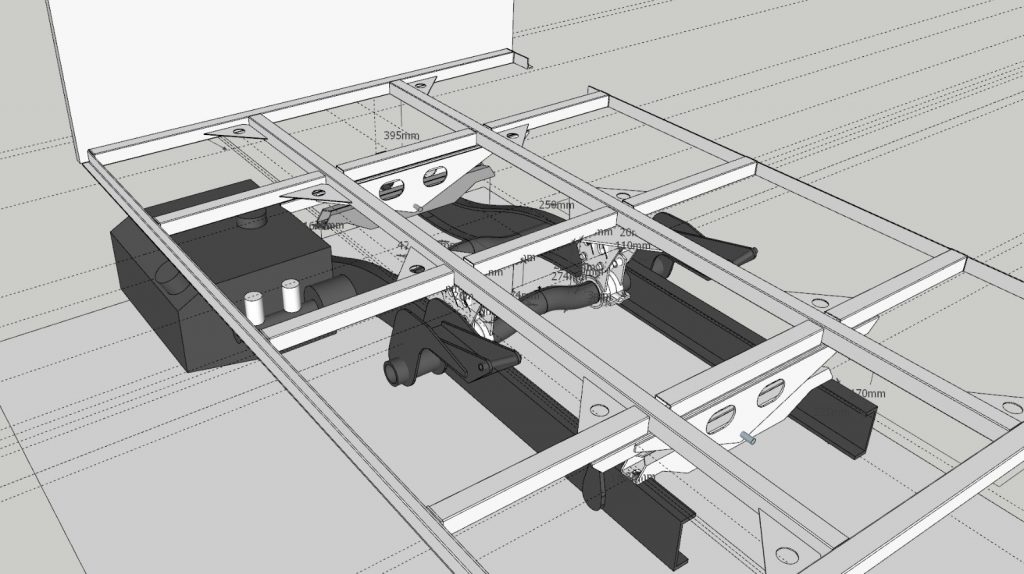
We’ll start with the crossbars on the chassis, one at the front and one at the rear. When putting the parts together, I notice that a mistake was made (by me): the front and rear mounting holes are distanced different and the size is different as well.
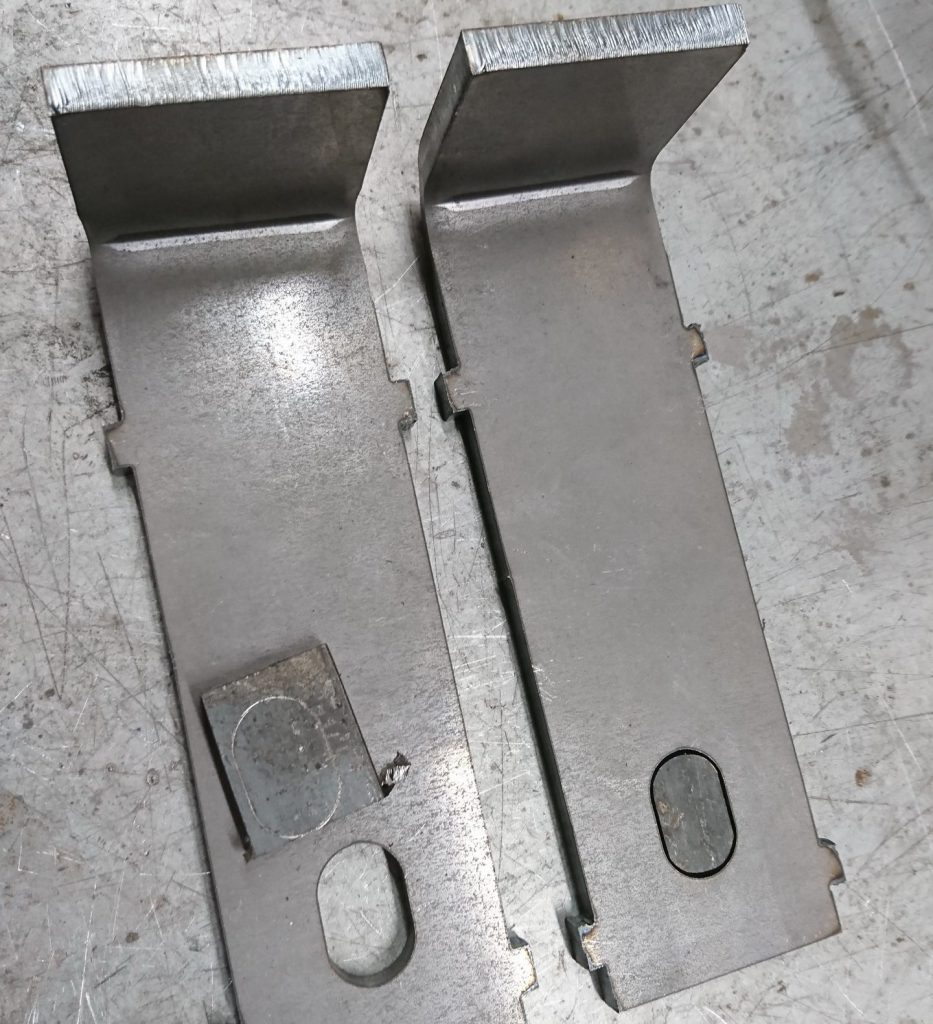
After welding the slots, new holes were drilled at the right location and the rear holes are enlarged.
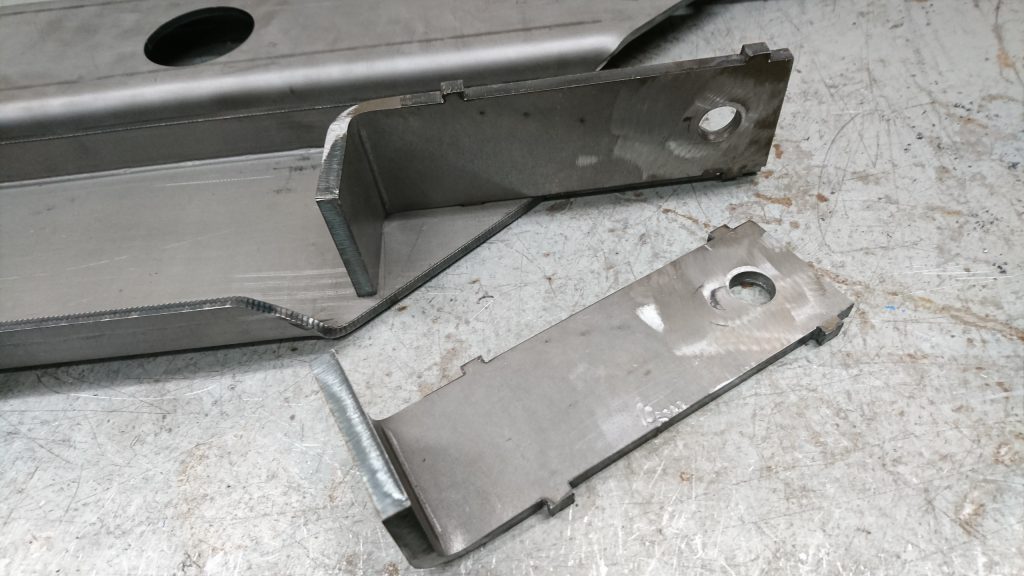
Now everything can be put together!
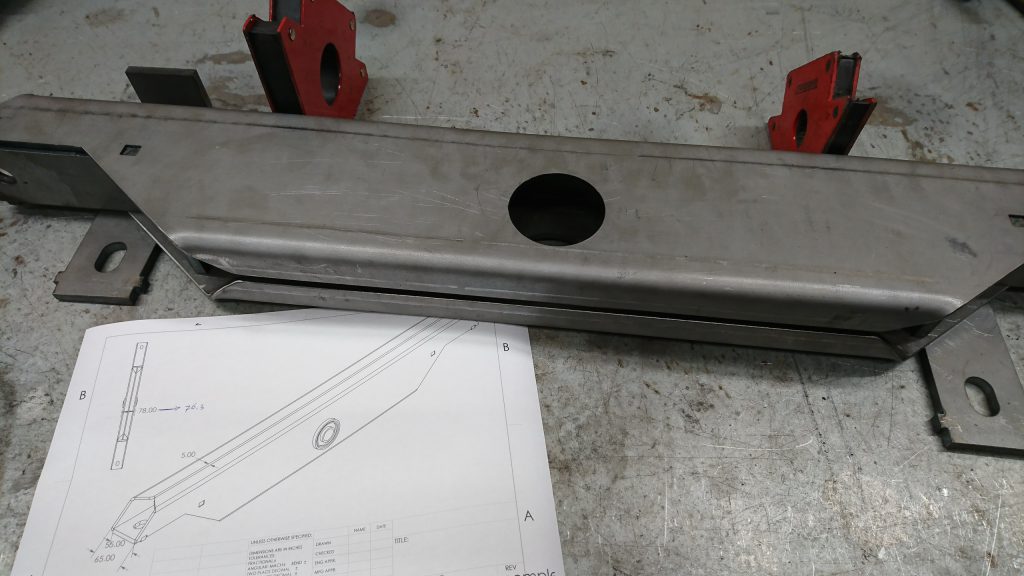
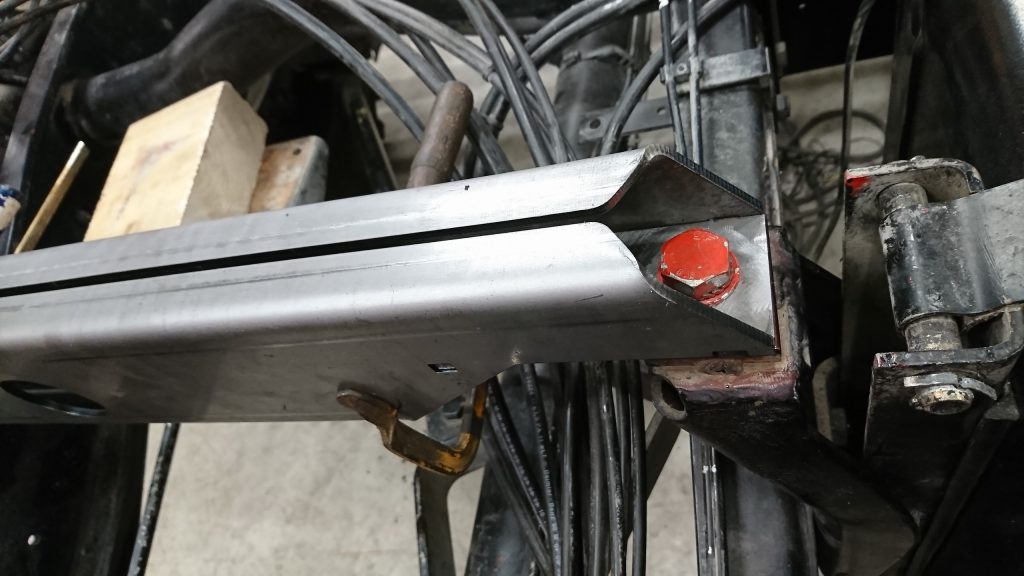
Welding, deburring and there, two finished crossbars. A vibration damper will be pushed into the hole and later on, a connecting rod will be used to keep the living area attached to the crossbar.
