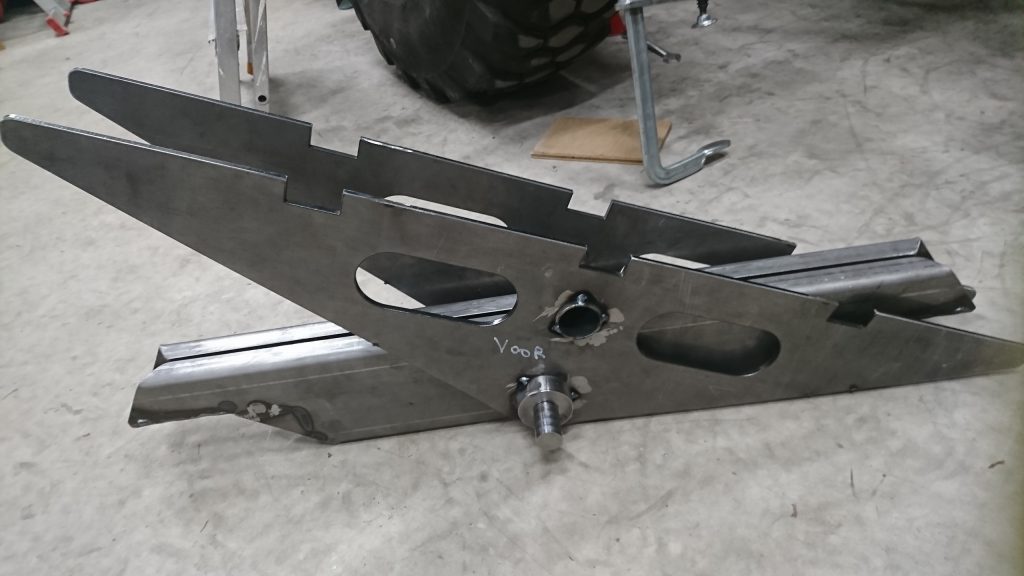
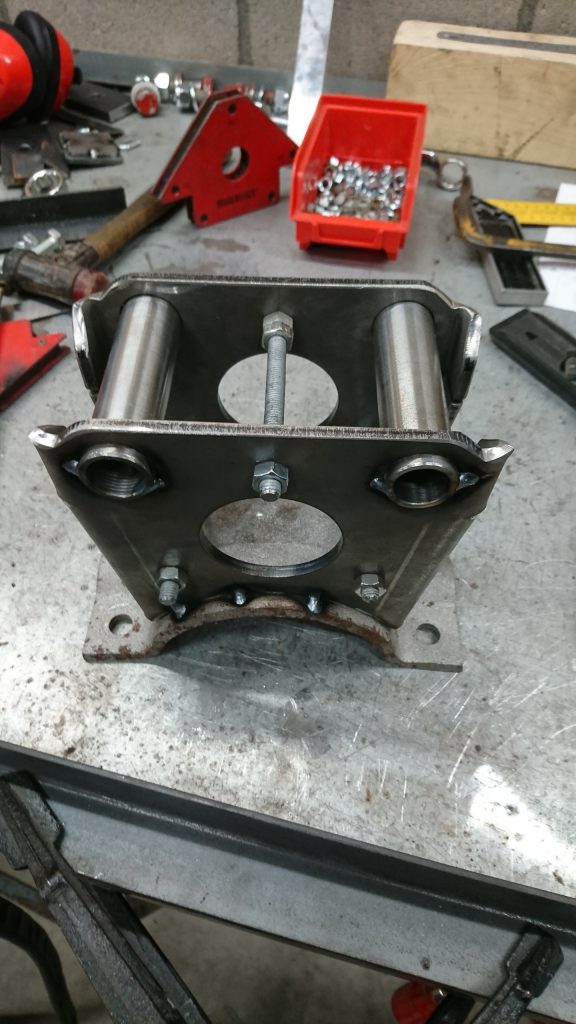
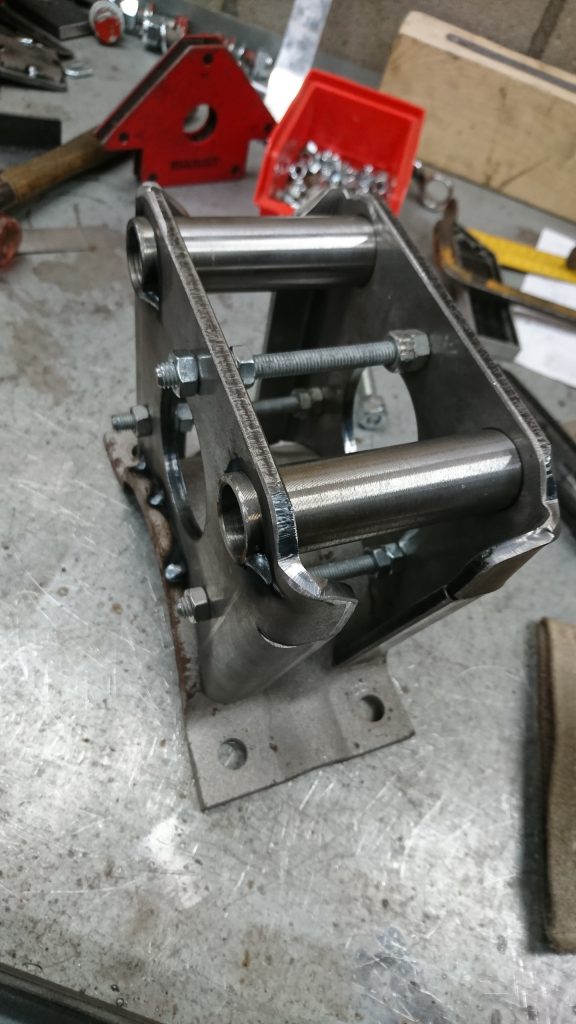
The mounting of the living area, the cabine, consists of 4 parts. The third party we’re creating is for the front-to-back attachment point.
I wasn’t able to put the laser-cut parts together using magnets and clamps, things were moving constantly.
So, in the end, I drilled some holes and used threaded rods with bolts, now things were nice and tight.
Time to test-fit these chassis parts with the floor-frame attachment parts.
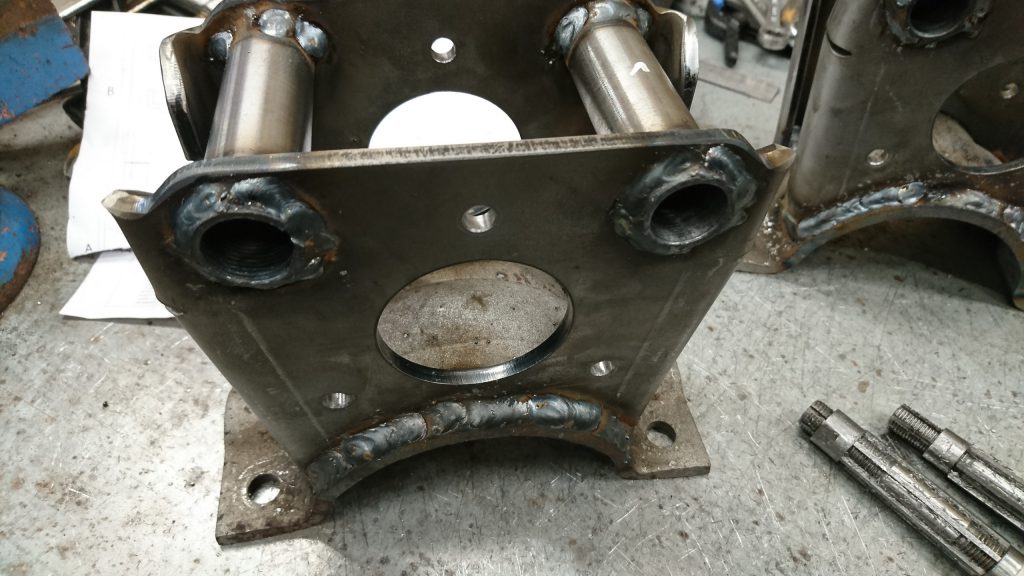
These connecting rods should be as a tight fit as possible. The holes in the welded rings have been made slightly larger… too large. This is a failure.
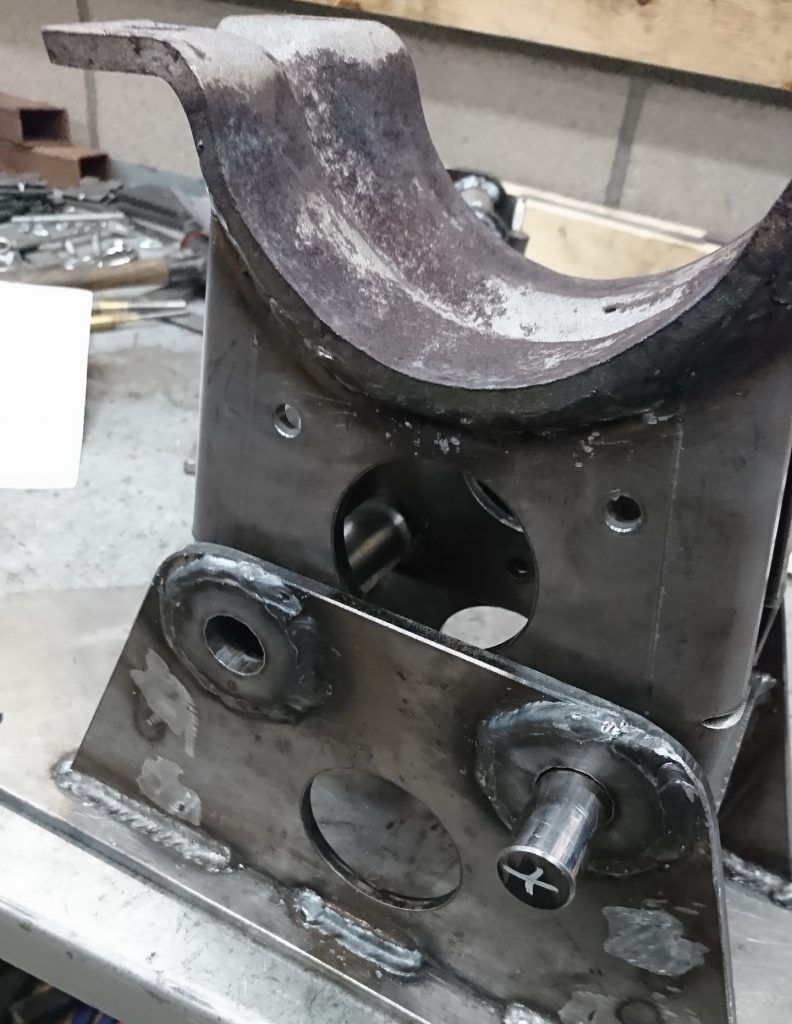
With the other attachments this failed as well, so I’m removing all the rings.
Instead, we had Bad Decision Works create a site of bushings with the lathe, this is a tight fit, as required.
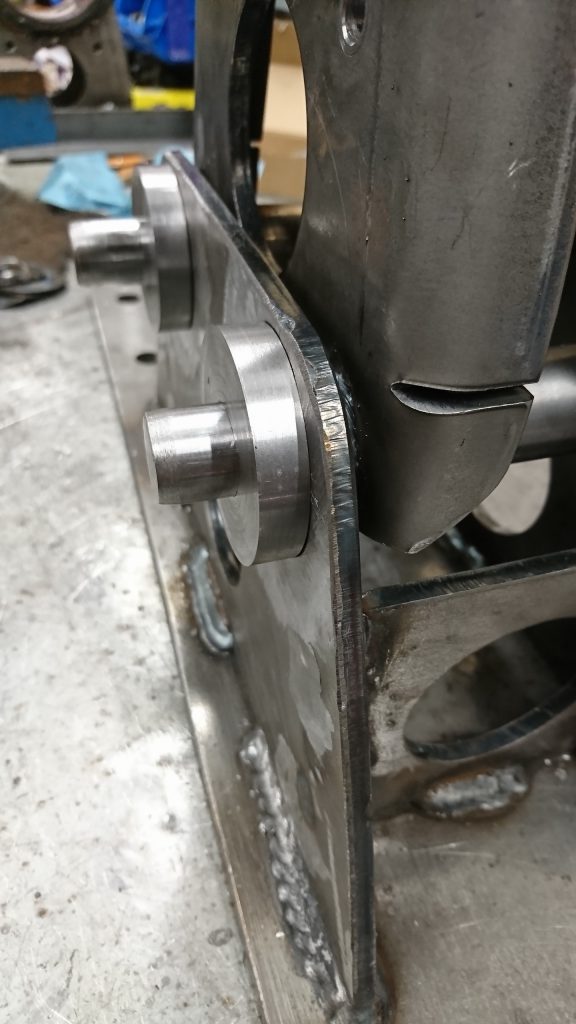
In order to get an exact measurement of where to weld everything in place, we have to bolt all the attachments to the chassis and floor frame, see part 4.
